


How to choose wedding photos for an album
Share
To choose wedding photos for an album, select 50-100 images that tell the story of your day from start to finish. Cover every major moment — getting ready, ceremony, portraits, reception — with 3-5 photos each. Prioritize variety over completeness, include candid and detail shots, and cut duplicate poses ruthlessly. A focused album always beats a bloated one.
Your photographer just delivered 500, 700, maybe 1,000+ edited images. They're all beautiful. And now you're supposed to pick 50-100 for an album.
This is where most couples get stuck. The selection process feels overwhelming, so they put it off… and then they never make an album at all. (This is incredibly common. Don't let it happen to you.)
Here's a simple, step-by-step method to go from 500+ photos to a finished album selection in one or two evenings.
Step 1: Sort by Moment, Not by Favorite
Don't scroll through all 700 photos picking ones you "like." That's a recipe for decision paralysis.
Instead, create these categories (folders or albums on your computer work fine):
- Getting ready — hair, makeup, dress, first look at yourself, quiet moments with family
- First look / pre-ceremony — if you did a first look, those emotional reaction shots
- Ceremony — walking down the aisle, vows, ring exchange, first kiss, recessional
- Family & wedding party portraits — the formal group shots
- Couple portraits — just the two of you, usually during golden hour or between events
- Cocktail hour & reception — toasts, first dance, parent dances, cake cutting, candids
- Party — dancing, laughing, the fun stuff
- Details — flowers, rings, venue, table settings, invitation suite, shoes
- Send-off / end of night — sparklers, confetti, getaway car, last dance
Drag photos from your master gallery into each folder. Don't agonize — just sort. This takes 30-45 minutes and is the most important step.
Step 2: Pick 3-5 Per Category
Now go through each category and select your top 3-5 images. That's it. For most categories, 3 is enough.
Ask yourself two questions for each photo:
- "Does this advance the story?" Your album should read like a narrative — beginning, middle, end. Each photo should show something new.
- "Will I still care about this in 10 years?" The group shot with your college roommates: yes. The fourth angle of the centerpiece: probably not.
After this step, you should have roughly 30-50 photos. You're almost done.
Step 3: Add the Photos You Almost Cut
Go back through the images that didn't make your top picks and look specifically for:
- Candid emotions. Your dad wiping his eyes during the first dance. Your best friend mid-laugh during her toast. These photos feel less "important" than posed shots, but they're the ones that hit hardest years later.
- Older family members. Including photos of grandparents, parents, and elderly relatives. This is not sentimental advice — it's practical. These photos become irreplaceable.
- Details you'll forget. You spent months choosing those flowers, that venue, those invitations. In five years, you won't remember exactly how they looked unless they're in the album.
- The moments between moments. Walking between locations, fixing a boutonnière, a quiet look across the room. These in-between shots add authenticity.
This should bring you to 50-80 photos. That's the ideal range for a 38 page wedding album.
Step 4: Cut the Duplicates
This is the hardest part. Look for:
- Same pose, slightly different angle. You don't need three versions of the same kiss. Pick the one with the best expression/light.
- Same moment, different crop. Your photographer shot your first dance from five angles. Choose two at most — one wide, one close-up.
- Same emotion, different person. If you have ten photos of guests laughing during toasts, pick the two best. The album communicates "everyone was having a great time" just as well with two as with ten.
Aim for your final count to land between 50-100 photos. Closer to 60-80 is the sweet spot for most albums.
Photos You Should Always Include
No matter what, make sure these are in your album. Couples who leave them out consistently say they wish they hadn't:
- At least one getting-ready photo of each of you
- The first look or the moment you saw each other at the ceremony
- The first kiss
- At least one photo with each set of parents
- A wide venue shot (interior or exterior)
- Your rings, close-up
- One candid of each of you laughing
- The dance floor (a wide shot showing the energy)
- A quiet couple portrait — just the two of you, no one else around
Photos You Can Safely Leave Out
Give yourself permission to cut:
- Every variation of the same formal group shot (pick the one where everyone's eyes are open)
- More than 2-3 ceremony shots from the same angle
- Multiple cake photos (one is plenty)
- Blurry dance floor shots (unless the blur is artistically intentional)
- Photos where the main subject is looking away or mid-blink
Layout Tips Once You've Chosen Your Photos
When you upload your selected photos to an album builder, keep these layout principles in mind:
- Lead with a strong image. Your album cover and first spread set the tone. Use a standout couple portrait or a dramatic venue shot.
- Follow chronological order. Getting ready → ceremony → portraits → reception → send-off. Don't bounce around.
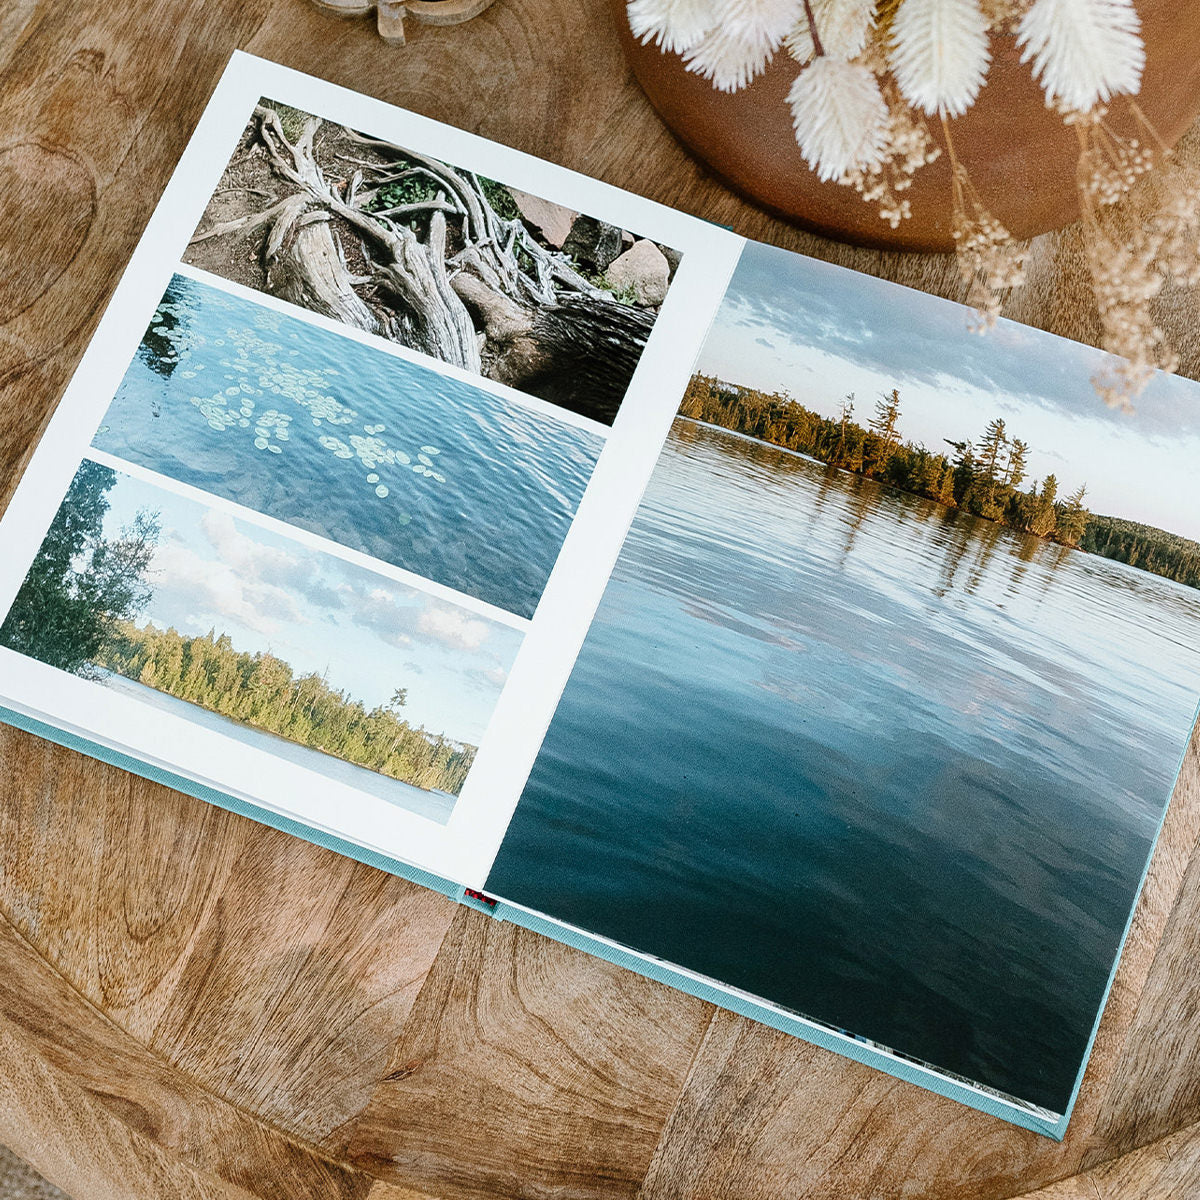
- Mix full-bleed spreads with multi-photo pages. Big emotional moments (first kiss, first dance) deserve a full two-page spread. Supporting shots (details, getting-ready candids) work well grouped 2-4 per page.
- Leave breathing room. White space is your friend. Pages crammed with photos feel chaotic. Let individual images breathe.
- End strong. Your last spread should be a closer — a favorite couple portrait, a sunset shot, or the send-off. Finish on emotion, not logistics.
Most album builders include pre-designed templates that handle layout for you, so you don't need to be a designer. Upload your photos, drag them into template slots, and the design takes care of itself.
The One-Evening Method
If you want to get this done quickly, here's the speedrun:
- Open a bottle of wine (optional :) )
- Spend 30 minutes sorting into the 9 categories above
- Spend 30 minutes picking your top 3-5 per category
- Spend 15 minutes adding candids, details, and older family members back in
- Spend 15 minutes cutting duplicates
- Upload to your album builder and arrange
Total time: about 90 minutes of selection, plus however long the layout takes (most template-based builders take under an hour).
That's it. Two and a half hours, one evening, and you have a wedding album that you'll keep for the rest of your life. Not bad for a Tuesday night.